DIY Gardening
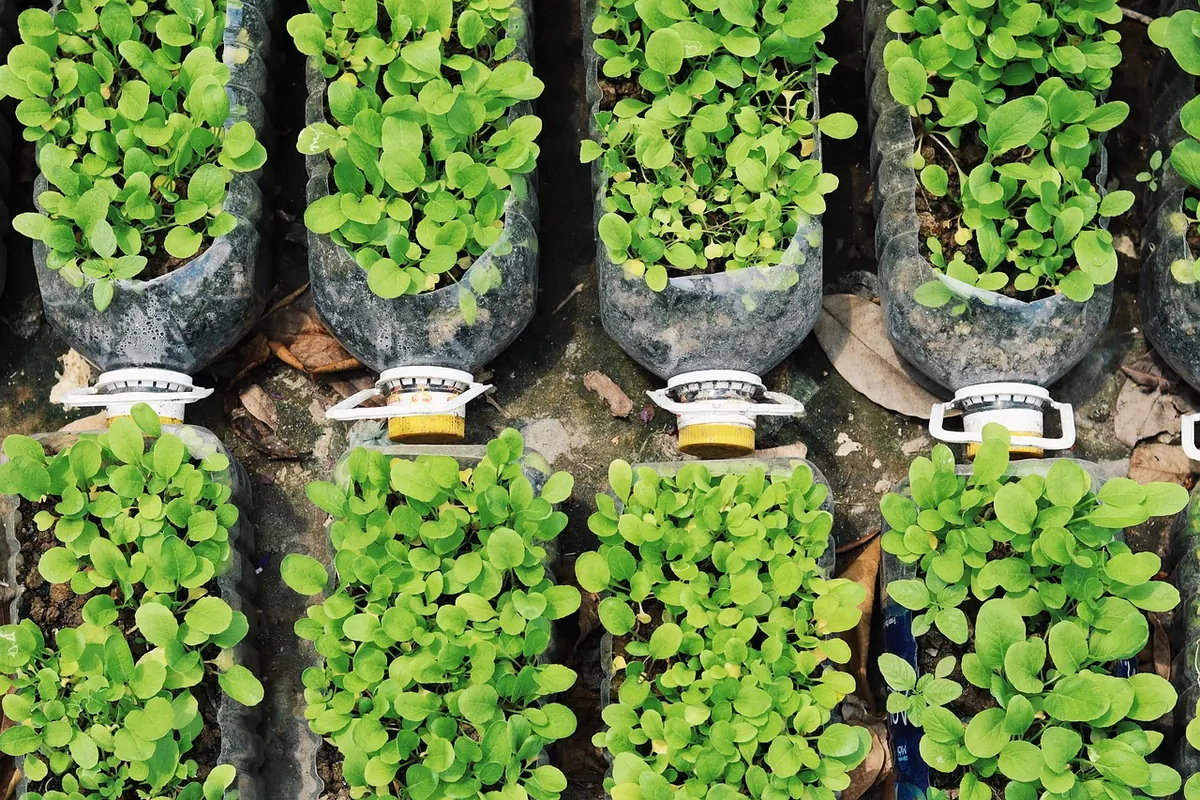
How to Make a Self-Watering Planter from a Plastic Bottle
A clear plastic bottle, a length of cotton string and half an hour at the kitchen table will get you a planter that waters itself for a week or more. This is not a novelty trick. The setup is a genuine wicking system, the same principle behind self-watering containers sold for considerably more money, and it suits exactly the plants people struggle with most: basil on a sunny windowsill, a spider plant on a shelf, mint that collapses every time you forget it for two days.
Build it properly and it will earn its space. Build it carelessly and you get a swamp with a plant drowning in it. The difference comes down to three things: the wick, the air gap, and the soil. Here is how to get all three right.
How a Wicking Planter Actually Works
The bottle is cut in half. The bottom half becomes a water reservoir, and the top half, turned upside down, becomes the growing chamber. A wick runs through the bottle cap and hangs down into the water, drawing moisture upward into the soil by capillary action. The soil stays consistently damp, and you top up the reservoir every few days instead of watering every morning.
The part most tutorials skip is the air gap. If the soil sits directly in water, or the water level rises above the top of the inverted bottle neck, the roots have no oxygen and rot within a week. In a well-built bottle planter, the cap hovers just above the waterline and the wick does the transporting. The reservoir gives the plant a drink, not a bath.
Keep that in mind while you cut, and the rest of the build is straightforward.
What You'll Need
- A clean 1.5 to 2 litre plastic bottle. Straight-sided bottles are easier to cut; squarer ones sit more steadily once filled.
- A craft knife and a pair of scissors.
- A drill bit, awl or a nail and pliers to make a hole in the cap.
- A wick: cotton string, a cotton shoelace, a strip of old cotton T-shirt, or acrylic yarn. Around 25 cm is plenty.
- Fresh potting mix with some perlite or coir in it. Not garden soil.
- A small herb seedling or a rooted houseplant cutting.
- Optional: electrical tape, foil or a scrap of dark fabric to wrap the reservoir.
- Optional: a handful of pebbles to steady the top section.
Cutting and Assembling the Bottle
- Remove the label and rinse the bottle. Any sugary residue from a soda bottle will feed mould and algae later.
- Mark a line around the middle. Cutting at roughly the halfway point gives you a reservoir deep enough to last a week and a growing chamber deep enough for roots.
- Pierce the bottle with the craft knife, then cut around the line with scissors. Work slowly and keep your fingers behind the blade. Smooth the cut edges by running the back of the scissors along them; fresh plastic edges are sharp enough to cut a stem.
- Make a hole in the cap. Six to eight millimetres is about right, wide enough for the wick to pass through snugly. If you have no drill, hold a nail with pliers, heat it, and melt the hole in a ventilated spot. The plastic will smell, so do it near an open window.
- Thread the wick through the cap. Leave about 10 cm above the cap for the soil side and 8 to 10 cm below for the water side. Tie a loose knot on the upper side so the wick cannot slide down when the soil settles.
- Turn the top half upside down and set it inside the bottom half. The cap should hang 1 to 2 cm above the base of the reservoir. If it touches the bottom, trim a little off the neck end or drop a few pebbles into the reservoir first.
- Check the fit. The rim of the top section should rest on or just inside the rim of the bottom. If it wobbles, a small notch cut in the rim will let it sit flush.
Choosing the Right Wick and Mix
The wick
Cotton is the most reliable choice: it absorbs quickly and releases water to soil without fuss. A braided shoelace or a strip cut from an old T-shirt works better than thin string, because flow depends on thickness. A wick that is too skinny will not keep up with a thirsty basil plant in June; one that is too fat can keep the soil permanently wet. A strip roughly the width of your little finger is a good starting point.
Synthetic blends will work but wick unevenly, and wool tends to sour and mildew in a reservoir. Make sure the wick passes snugly through the cap hole. Gaps around it let soil wash down into the water.
The mix
Use a light, fresh potting mix. Garden soil compacts into a brick, clogs the wick and brings weed seeds and fungus gnats indoors. A mix with perlite, coir or bark holds moisture while still letting air through, which is exactly what a bottom-watered plant needs.
Skip the gravel layer. You will see it recommended in older guides, but in a wicking container it does real harm: gravel at the base of the growing chamber raises the saturated zone and breaks contact between soil and wick. The drainage it is supposed to provide is not something a self-watering planter needs.
Planting and the First Week
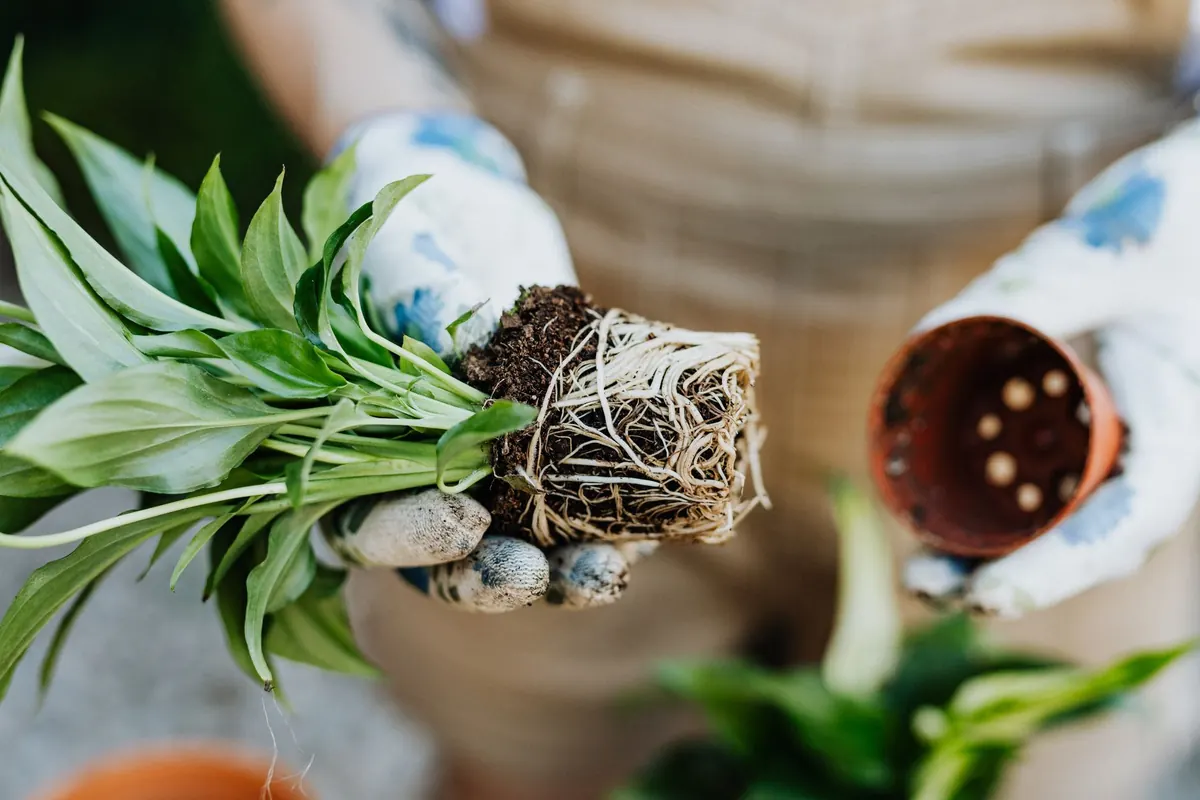
Moisten the potting mix before it goes anywhere near the bottle. It should feel like a wrung-out sponge, not dripping. Fill the inverted top section loosely, set the seedling in place so the crown sits at the same level it was growing before, and firm the mix gently around the roots.
Now water from above, once, until a little runs out of the neck into the reservoir. This step is not optional. A dry wick cannot pull water into dry soil; the contact has to be established by hand the first time.
Fill the reservoir until the water sits just below the top of the bottle neck, then leave the planter somewhere bright but out of harsh afternoon sun for a few days. Check the reservoir every three to five days. A small herb in warm weather will drink a full reservoir in about a week; a spider plant in shade may take two.
What Grows Well, and What Doesn't
Soft, thirsty plants take to this system immediately. Basil, mint, parsley, chives, lemon balm and chervil all do well, as do spider plants, pothos, peace lilies, ferns, coleus and small begonias.
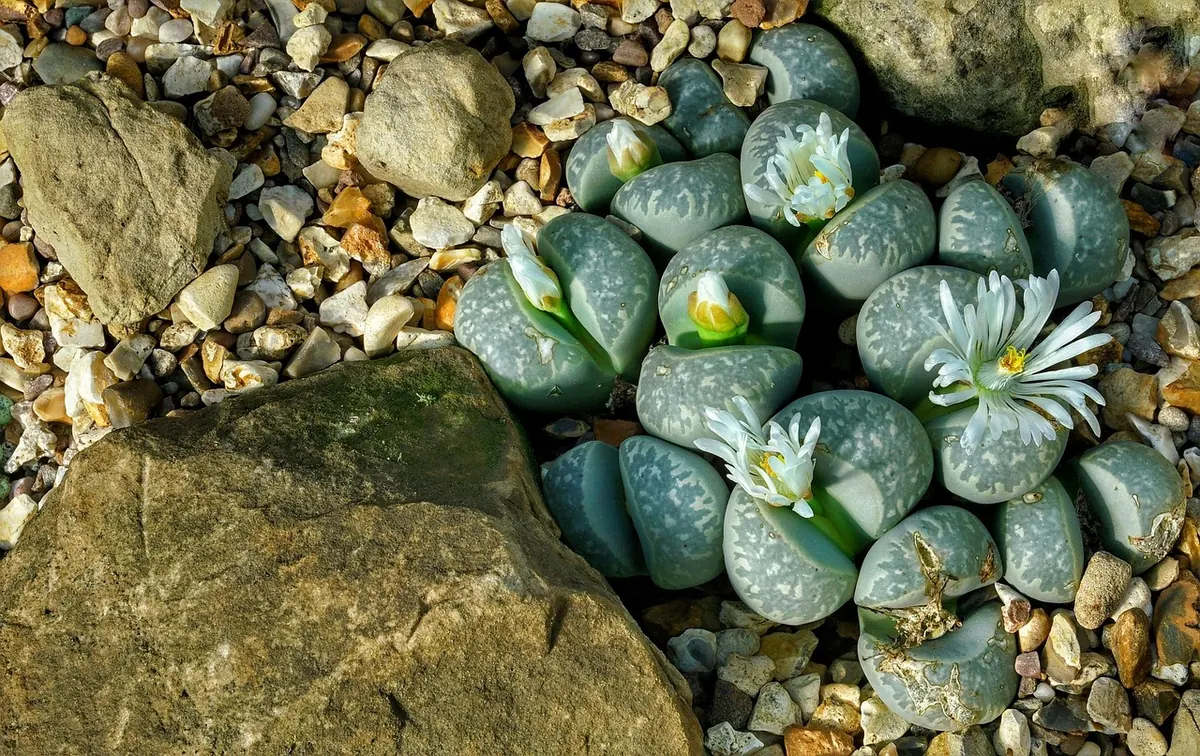
Plants that want to dry out between waterings do not. Succulents, cacti, rosemary, thyme, lavender, snake plants and ZZ plants will sulk and eventually rot in constant moisture. A one-and-a-half litre bottle also suits only small plants; a tomato or a mature fern will empty the reservoir in a day and then go thirsty.
One practical detail: a clear reservoir in sunlight grows algae. Wrap it in tape, foil or a strip of dark fabric, or start with an opaque bottle such as a milk jug. Algae will not kill the plant, but it looks unpleasant and competes for the nutrients in the water.
Troubleshooting
- Soggy soil and a sour smell. The wick is too thick or the water level is too high. Empty the reservoir, let the soil breathe for a couple of days, and swap in a thinner wick.
- Soil bone dry after two days. The wick is too thin, blocked by compacted mix, or no longer touching the water. Lift the top section and check both ends.
- Dry surface, damp middle. Normal. Wicking moves water slowly upward. A light top watering every week or two keeps the surface fresh and discourages fungus gnats.
- White crust on the soil. Fertiliser salts are accumulating. Flush the growing chamber under a tap, then restart the reservoir with plain water.
- Mosquitoes or stagnant water. Refresh the reservoir weekly and never leave it standing for a month.
Keeping the System Running
Feed lightly. A few drops of liquid fertiliser in the reservoir every third refill, or a slow-release granule mixed into the potting mix at planting, is enough for a season of herbs. Refresh the whole setup each spring: new mix, washed reservoir, a wick that has not gone stiff and grey. Roots will have filled the bottle by autumn, which is a good sign the planter was working, and also the point at which it is time to pot up or start again.
Build two or three while you have the tools out. They cost nothing, they stack on a windowsill, and they turn the routine of watering into something you check once or twice a week rather than fuss over daily. That is the whole appeal: not a gadget, just a reliable buffer against the days you forget.
Photo: Zlatano16 / Pixabay
Related Articles