Seasonal Tips
Fall Lawn Repair: Overseeding, Aerating, and Feeding Timeline
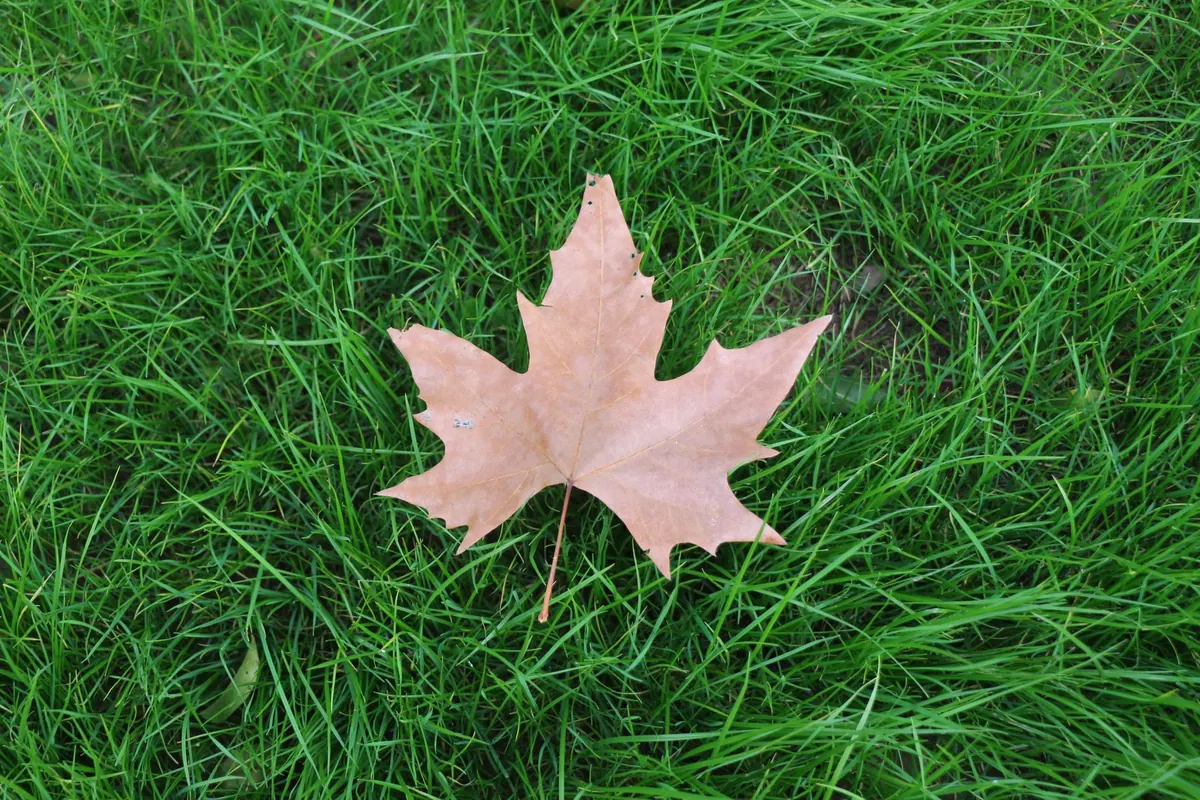
By late summer the lawn tells you the truth. There are thin spots where the dog turns, a bald strip along the driveway where the mower clips the edge, moss creeping in under the maple, and a patch by the back step that never quite filled in after last winter. Most people look at that and reach for a bag of seed. Seed alone rarely fixes it. What fixes it is doing four jobs in the right order while the season is still on your side.
Fall is that window. The soil is still warm from summer, the air is cooling, and the grass is putting energy into roots rather than top growth. Weeds are winding down instead of sprinting. Get the sequence right and a thin lawn can thicken considerably before the first hard frost. Get it wrong — seed scattered onto compacted ground, fertilizer spread at the wrong moment — and you will spend spring looking at the same bare patches.
Why Fall Beats Spring for Most Repairs
Spring seeding works, but it is a crowded calendar. The soil is cold, crabgrass is waking up, and the pre-emergent you would normally spread to stop it will also stop your new grass seed from germinating. You end up choosing between weed control and repair. Fall separates those jobs neatly.
Timing matters more than the calendar month. Wait until the worst of the summer heat has broken and night temperatures are settling into the fifties and sixties Fahrenheit, with days in the sixties and seventies. In cooler northern regions that can arrive in late August. In milder areas it may be late September or into October. The new seedlings want roughly six weeks of growing weather before the ground freezes, so count backward from your typical first frost and leave yourself that cushion.
One exception: if you garden where warm-season grasses like Bermuda or zoysia dominate, fall overseeding is a different exercise, usually done with annual ryegrass for winter color rather than permanent repair. Save structural patching of those lawns for when they are actively growing in summer.
Step One: Mow Low, Bag the Clippings, Read the Soil
Before any machine touches the lawn, cut it shorter than usual — around one and a half to two inches for cool-season turf. Do it in two passes if the grass is tall, lowering the deck gradually so you do not scalp the crowns. Bag these clippings rather than mulching them. You want short grass and open ground so seed can reach soil instead of landing on a mattress of stems.
Then walk the lawn with a trowel. Push it into the ground in a few spots. If it takes real effort, you have compaction. Dig a small plug and crumble it: heavy clay that holds water in a puddle, or sand that drains in seconds, both change what you should do next. A soil test from your local extension service is inexpensive and tells you the pH and nutrient picture, which is far better information than any bag label.
Fix the obvious problems before you sow. A patch that stays soggy after rain needs drainage addressed, not more seed. Deep shade needs a fine fescue blend, not the same seed you used in full sun.
Step Two: Aerate With Cores, Not Spikes
Core aeration pulls small plugs of soil out and leaves holes that relieve compaction and let air, water and roots move downward. That is the version worth renting. Spikers and rolling drums push soil aside without removing it, and on dry ground they can make compaction worse.
Getting aeration right
- Water the lawn the day before. The tines should sink easily; working muddy soil makes a mess and tears roots.
- Go over the worst areas twice, in two directions, and the rest of the lawn once.
- Leave the plugs on the surface. They break down within a couple of weeks and return organic matter to the soil.
- Skip dethatching unless you genuinely have a spongy layer of dead stems thicker than about half an inch. Power raking is aggressive, and most lawns do not need it in the same season as overseeding.
Do not aerate immediately after seeding, and do not seed into fresh holes the same hour. Aerate, clean up, then sow — ideally the same day or the next, before the holes soften back in.
Step Three: Overseed for Seed-to-Soil Contact
The single most common failure is seed sitting on top of the ground, drying out, and never rooting. Contact is everything. Buy fresh seed with a recent test date on the label, and read the purity and germination percentages rather than the picture on the bag. Cheap mixes often carry a lot of inert matter and weed seed.
Match the blend to the site: tall fescue and Kentucky bluegrass for sunny, heavily used areas, fine fescue for shade and dry slopes. Follow the overseeding rate printed on the label, which is usually a little lighter than a new lawn's rate.
- Mow low and bag the clippings a day or two ahead.
- Aerate the compacted areas and rough up bare patches with a hard rake.
- Spread half the seed in one direction and half at a right angle to it, for even coverage.
- Rake very lightly, then topdress thin spots with a quarter inch of screened compost or topsoil.
- Roll or tamp lightly so seed is pressed into contact with soil — no deeper than that.
Seed buried deep is seed wasted. A quarter inch of cover is plenty; sunlight and moisture do the rest.
Step Four: Feed, but Not With Weed-and-Feed
New seedlings benefit from a starter fertilizer that is relatively high in phosphorus, which supports root development. Spread it at seeding time and water it in. Check local rules first: many areas restrict phosphorus in lawn products, and a soil test will tell you whether you actually need it.
Then plan a second, later feeding for when top growth has slowed but the grass is still green and the ground has not frozen. That late application feeds roots and stores energy for winter. Keep nitrogen modest — pushing lush growth into cold weather produces tender blades that winter damages.
Whatever you do, do not use a weed-and-feed product on a lawn you have just seeded. The herbicide does not distinguish between a dandelion and a young blade of fescue. Deal with broadleaf weeds next spring, once the new grass has been through a full mowing season.
Step Five: Water Like You Mean It
Germination needs constant shallow moisture. For the first two to three weeks, water lightly two or three times a day in warm, dry weather so the top inch never dries out. If it rains, adjust. Once the seedlings are up and you have mowed once, change approach: water deeply and less often, soaking down several inches to encourage roots to follow the water down.
Keep people and furniture off the seeded areas. Blow or gently rake fallen leaves rather than letting them mat down over young grass. And keep watering until the weather shuts you down for the season — a seedling that dries out in October does not get a second chance.
Your Fall Repair Timeline at a Glance
Day one: mow low, bag clippings, dig a few test holes, order seed and starter fertilizer. Day two: aerate, rake bare spots, spread seed in two directions, topdress thin areas, apply starter feed and water it in. Weeks one to three: light watering two or three times daily, more in heat and wind. Week three to four: first mow when new grass reaches about three inches, with a sharp blade and a light touch. Weeks four to eight: shift to deep, infrequent watering, clear leaves, and apply the late-season feed while the grass is still green. Then let winter do its work. The reward shows up in April, when the thin spots come back thick.
Photo: 阿 蟹 / Pexels
Related Articles